Hand it over.
Once your site lives on GitHub, anyone — including future-you — can take it, publish their own copy, and put it on a domain they own. This module shows you how.
Three ways to get a copy
Fork, clone and download sound the same, but they differ in two things: where the copy lives and whether it stays linked to the original.
"Make it mine on GitHub." A full copy under your own account that remembers where it came from. This is the one that matters when you want to publish your own version.
"Bring it to my computer to work on it." A working copy on your laptop, still wired to a repo online so you can push and pull changes.
"Just give me the files." A snapshot in a folder. No git, no link back — good for a look, not for maintaining.
The usual combination: fork first (your copy online), then clone that fork (to edit locally). That way your changes always have a home to go back to.
From a repo to a live site
The beginner route never touches a terminal. You click it together in a few minutes.
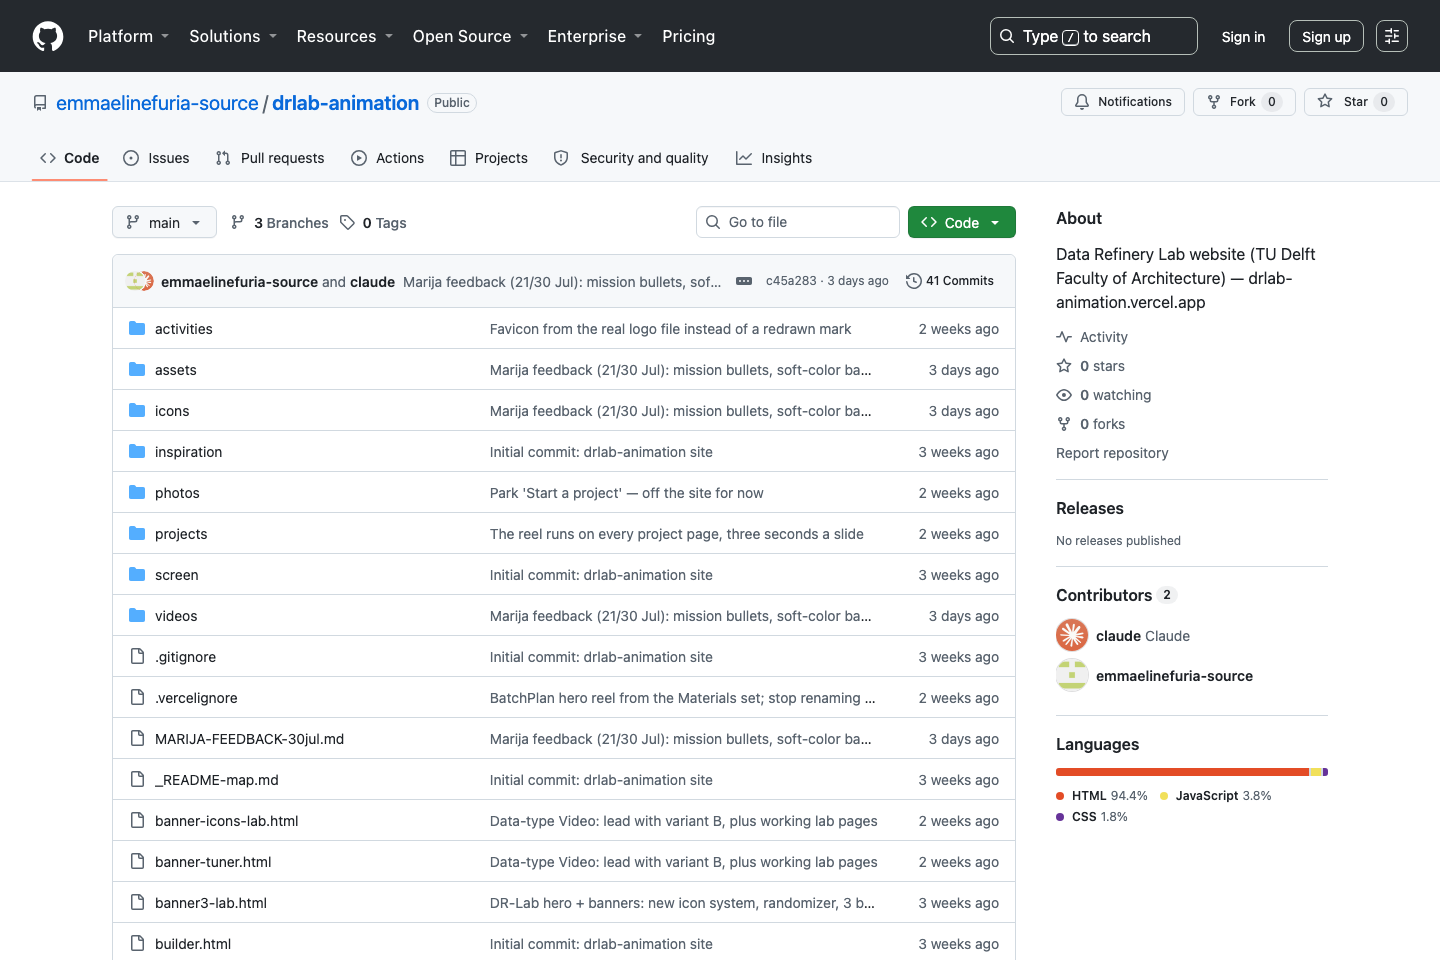
Fork it on GitHub
On the repo, click Fork → Create fork. Now it lives under your account.
Sign in to Vercel
Sign in to Vercel with your GitHub account, so Vercel can see your repos.
Import your fork
Add New → Project → pick your forked repo and import it.
Click Deploy
For a plain static site there's nothing to configure. Just Deploy.
You get a live link
After about 30–60 seconds you get an address like yoursite.vercel.app.
Because the site is linked to your fork, every change you push redeploys automatically. That's the payoff of the fork route.
Put it on your own domain
A yoursite.vercel.app link works fine — but yoursite.com is yours. This is the part people ask about.
Buy the domain
At a registrar (TransIP, Namecheap, Cloudflare, or Vercel Domains itself). If you buy it through Vercel, the DNS work below is done for you automatically.
Add it in Vercel
In your project: Settings → Domains → Add. Type your domain and say yes to also add the www version.
Set the DNS records at your registrar
Vercel shows you exactly which records to make. An A record for the bare name (yoursite.com points to an IP address) and a CNAME for www (points www to another name). DNS is like the internet's phone book: these records tell it that your name points to your site.
Wait for it to spread
DNS changes have to spread across the internet ("propagation") — usually minutes, sometimes hours. Vercel flips your domain to a green "Valid" once it sees them.
The padlock is free and automatic
The https padlock (the SSL certificate) is handled by Vercel. You do nothing.
Vercel now gives each project its own CNAME value (a random string ending in vercel-dns…com). So always copy the values shown on your own Vercel screen — not the ones from a tutorial.
Rather not fiddle with separate records? There's an alternative: point your whole domain's nameservers at Vercel, and Vercel manages all the DNS for you. Handy long-term — but any other records (for email, say) you'll need to add again.
What's a worktree — honestly
A git worktree lets one repo have several folders open at once, each on a different version, so you can see two versions side by side without stashing your work.
A safe copy to try a change without breaking the good version.
Every branch gets its own preview link on Vercel automatically.Two versions literally side by side in separate folders. Useful when you really juggle two big changes at once.
For a simple site it's overkill — you don't need it yet.In short: learn branches first. There's a separate Worktrees module on the site for when you're ready for more.
Share your setup, not just the files
A repo can carry your Claude setup too. Your skills and your instructions live in the project's .claude folder — so whoever forks it gets your tools and your way of working, not just the pages.
The .claude folder travels with the repo — your deploy skill, your house style, everything you taught it.
Someone can change the site your way, with the same helpers you use — not start from scratch.
Sharing the setup is how a project becomes something a small team can carry and change together.
Keep your repo private by default; make it public only when you want others to fork it. And the real magic: push once, and your live site updates itself.